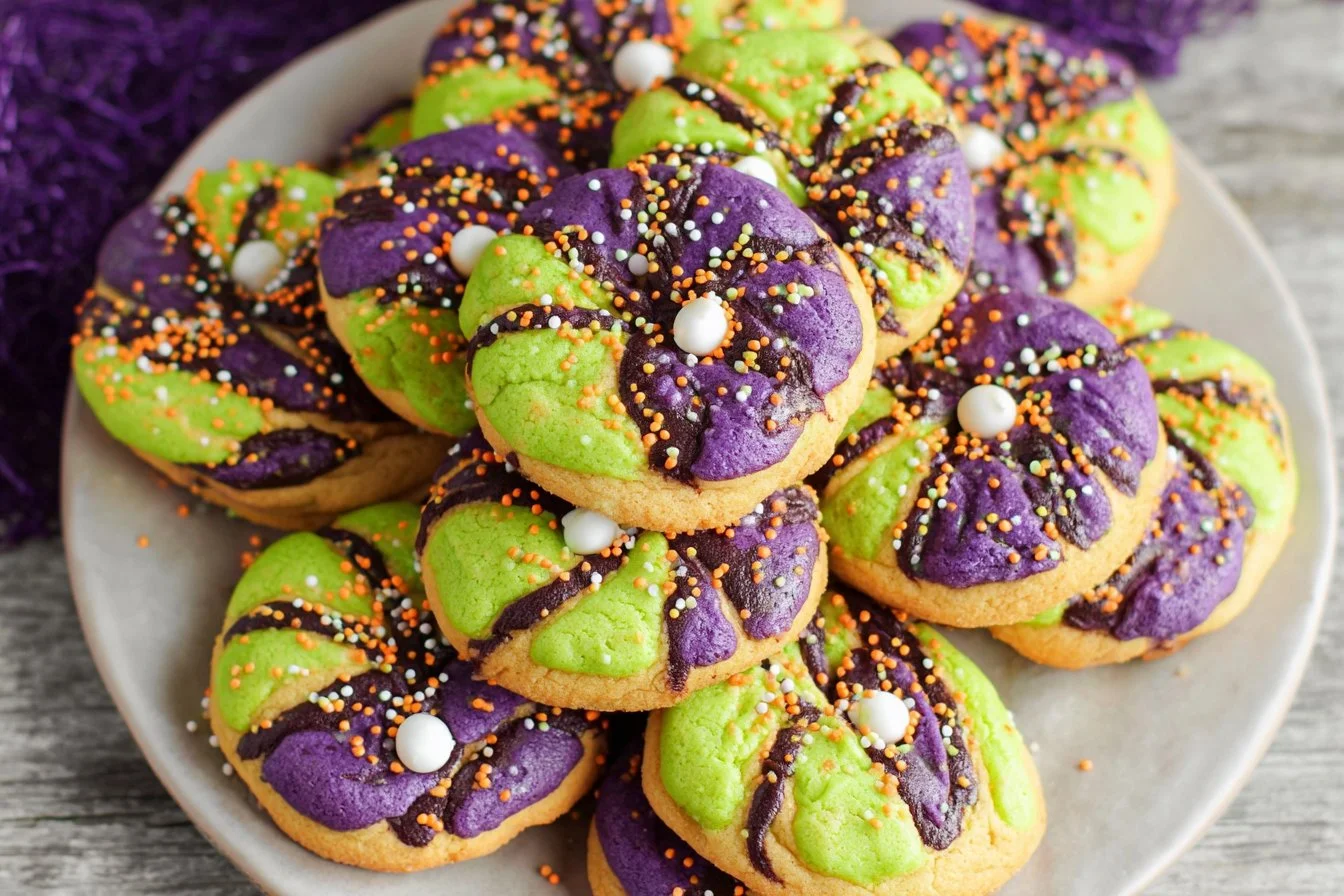
Are you ready to bake something magical? Hocus Pocus Cookies are a fun and colorful treat perfect for any occasion. These cookies are soft, chewy, and full of vibrant colors that will catch anyone’s eye. They are simple to make and bring joy to all who see and taste them. Whether it’s for Halloween, a party, or just a fun day in the kitchen, these cookies are sure to please everyone. Let’s dive into why this recipe is so special and how you can make these enchanting cookies at home!
WHY YOU WILL LOVE THIS RECIPE
There are many reasons to fall in love with Hocus Pocus Cookies. First, they are very colorful and can be made in shades of purple, orange, and green. This makes them a great treat for festive events like Halloween. Second, the combination of rich butter and sweet sugar creates a delightful flavor that everyone will enjoy.
Moreover, these cookies are fun to prepare! Mixing different colors of dough and shaping them into magical treats can feel like a little art project. The joy of decorating these cookies with sprinkles and white chocolate chips adds even more fun to the baking experience. Plus, they are soft and chewy, making them a perfect snack for kids and adults alike. In short, Hocus Pocus Cookies are not just tasty; they also bring a sprinkle of fun into your kitchen!

HOW TO MAKE HOCUS POCUS COOKIES
Ingredients
To create the delightful Hocus Pocus Cookies, you will need the following ingredients:
- 1 stick (½ cup, 113g) unsalted butter (softened)
- 1 ¼ cup (150g) granulated sugar
- 2 teaspoons pure vanilla extract
- ½ cup sour cream
- 2 large eggs (at room temp)
- 1 ½ teaspoon baking soda
- ½ teaspoon cornstarch
- ¼ teaspoon salt
- 3 ¼ cups all-purpose flour
- Gel food coloring (purple, orange, and green)
- 2 cups sprinkles
- 1 cup white chocolate chips
STEP-BY-STEP INSTRUCTIONS
- Cream the Butter and Sugar: In a large mixing bowl, cream the softened butter and granulated sugar on high speed until it is fluffy and there are no more lumps. Use a fork to break apart any chunks of butter or sugar, and scrape the sides of the bowl to ensure everything mixes well.
- Add the Wet Ingredients: Next, add the vanilla extract and sour cream to the bowl. Mix on a low setting until combined. After this, add the eggs, mixing on low speed just until incorporated. Be careful not to overmix.
- Mix in the Dry Ingredients: Now it’s time to add the dry ingredients. Add the baking soda, cornstarch, salt, and just one cup of the all-purpose flour, mixing on low speed. Slowly add in the remaining flour, one cup at a time, mixing until there are no more streaks of flour in the dough.
- Divide and Color the Dough: Divide the dough evenly into three separate bowls. In each bowl, add a few drops of gel food coloring. Mix each color into the dough with a spatula or spoon. Add more food coloring if needed until you reach your desired color. Remember, the cookies will lighten a bit as they bake. Cover the bowls with plastic wrap and chill in the refrigerator for at least 30 minutes. This helps firm up the sticky dough.
- Preheat and Prepare: Once the dough has chilled, preheat your oven to 375°F (190°C). Line two baking sheets with parchment paper or a silicone mat.
- Shape the Cookies: Scoop about half a tablespoon of each color of the dough and roll them into individual balls about 1 inch in diameter. Then, grab one ball of each color and push them together. Carefully roll them into one larger ball.
- Arrange on Baking Sheets: Place each ball about 4 inches apart on the prepared baking sheets. Lightly flatten each ball into a small cookie shape with your fingers. They will spread and rise as they bake, so ensure there is enough space.
- Decorate the Cookies: Decorate each cookie with white chocolate chips and sprinkles, adding a fun touch.
- Bake the Cookies: Place the baking sheets in the oven to bake for 8-10 minutes. Check for doneness after 8 minutes. The cookies should still be a little soft when you take them out of the oven.
- Cool and Enjoy: Allow the cookies to cool on the baking sheet for 10 minutes, then transfer them to a plate to cool completely.
Now you are ready to enjoy your Hocus Pocus Cookies!
HOW TO SERVE HOCUS POCUS COOKIES
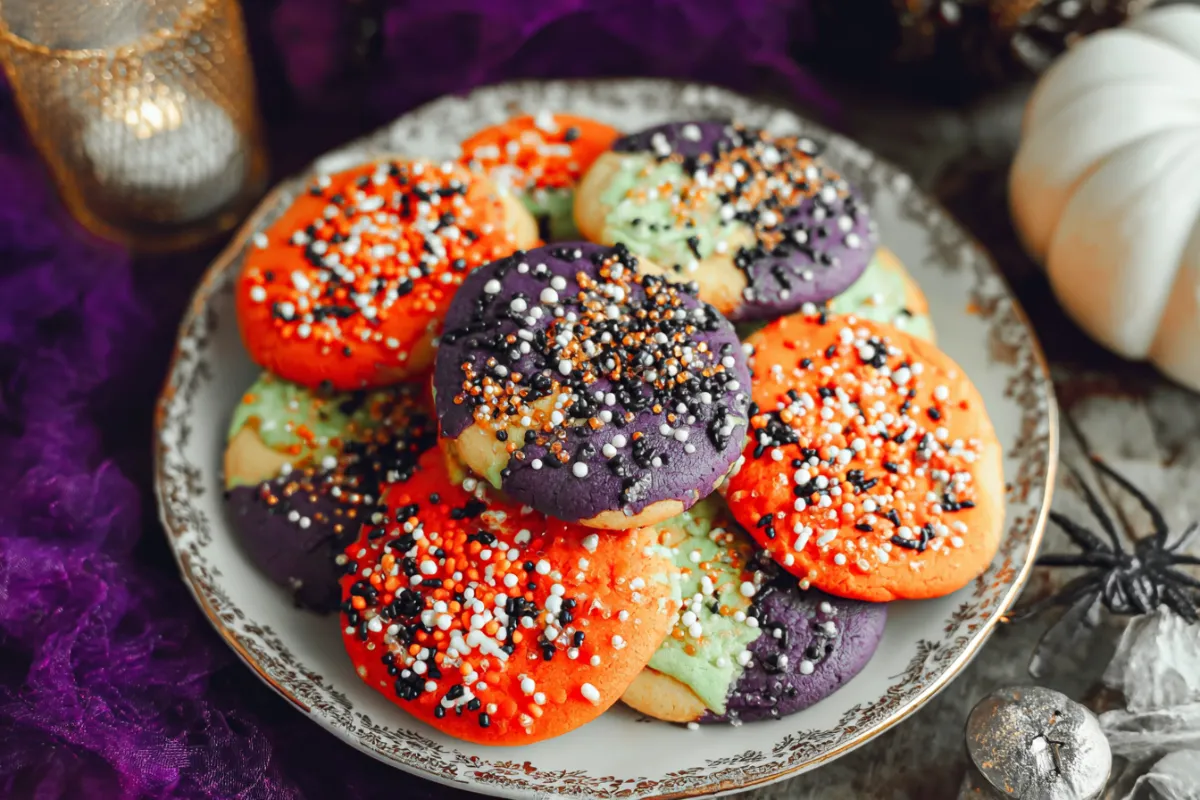
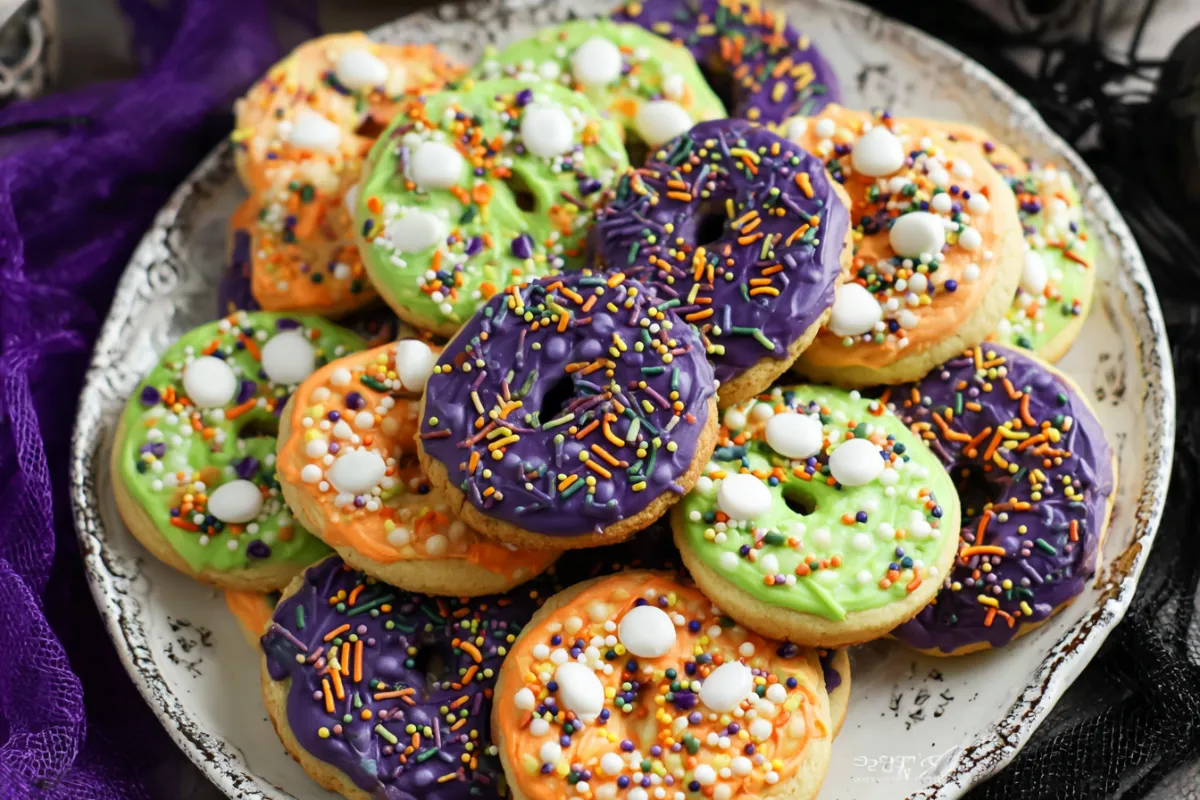
Hocus Pocus Cookies can be served in many ways. You can present them on a festive platter, perfect for parties or get-togethers. They also make great snacks for children and are a fun addition to lunchboxes. Pairing them with a glass of milk or a warm cup of cocoa can enhance the experience. They will surely be a hit at any gathering!
STORAGE & FREEZING : HOCUS POCUS COOKIES
To keep your Hocus Pocus Cookies fresh, store them in an airtight container at room temperature. They can last for about a week. If you want them to last longer, you can freeze them. Place the cooled cookies in a single layer in a freezer-safe bag or container. They can be frozen for up to three months. When you want to enjoy them, simply pull out the cookies and let them thaw for a bit before serving.
SERVING SUGGESTIONS
There are numerous ways you can serve your Hocus Pocus Cookies. Here are some ideas:
- Pack for School Lunches: Place a few cookies in a bag for a tasty school lunch snack.
- Serve at Parties: Arrange them on a colorful platter for birthday parties or Halloween gatherings.
- Gift Them: Create a small gift basket and include these cookies as a sweet treat.
- Homemade Treat Bags: Fill small bags with cookies for party favors or holiday gifts.
VARIATIONS
You can add your own twist to Hocus Pocus Cookies! Here are some variations:
- Add Nuts: Mix in your favorite nuts like walnuts or pecans for a crunchy texture.
- Different Colors: Change the gel food coloring to other fun shades based on your theme or preference.
- Chocolate Dough: Substitute part of the flour with unsweetened cocoa powder to make chocolate-flavored cookies.
- Seasonal Themes: Use different themed sprinkles for all seasons, like red and green for Christmas.
FAQs
1. Can I use margarine instead of butter?
Yes, you can use margarine, but the flavor and texture may differ slightly.
2. How can I make my cookies softer?
Make sure you do not overbake your cookies. Take them out when they are still soft in the middle.
3. Can I skip chilling the dough?
Chilling is important as it helps firm up the dough. If you skip it, the cookies may spread too much while baking.
4. How can I fix dry cookie dough?
If the dough seems dry, you can add a bit more sour cream or a splash of milk to help moisten it.
MAKE-AHEAD TIPS FOR HOCUS POCUS COOKIES
Making Hocus Pocus Cookies ahead of time is easy! Here are some tips:
- Prepare the Dough: You can make the cookie dough ahead of time and chill it. The dough can be kept in the refrigerator for up to 2 days.
- Freeze the Dough: Roll the dough into balls and freeze them before baking. When you are ready to bake, just take them out of the freezer and bake directly from frozen. You may need to add a minute or two to the baking time.
- Baked Cookies: Once baked and cooled, store them in an airtight container or freeze them for later enjoyment.
Now you know everything there is to make and love Hocus Pocus Cookies! Enjoy baking these enchanting treats with your family and friends. Happy baking and have fun!
Bring some magic to your kitchen with these whimsical tri-colored cookies that are as fun to make as they are to eat! These soft, chewy treats combine purple, orange, and green dough swirled together for a spellbinding appearance that’s perfect for Halloween parties or any time you want to add some enchantment to your day. Made with simple ingredients like butter, sugar, and a touch of sour cream for extra tenderness, these cookies are decorated with white chocolate chips and colorful sprinkles for the ultimate festive touch. Kids and adults alike will be mesmerized by these delightful treats that prove baking can be both delicious and magical. Complete your Halloween spread with our easy pumpkin dip recipe and spooky Halloween jello jigglers, or try our pumpkin oreo balls for more festive treats that will cast a spell on everyone.

Hocus Pocus Cookies
Fun and colorful cookies perfect for Halloween, parties, or just a fun day in the kitchen. These soft and chewy treats are a delight for all ages.
- Total Time: 40 minutes
- Yield: 24 cookies 1x
Ingredients
- 1 stick (½ cup, 113g) unsalted butter (softened)
- 1 ¼ cup (150g) granulated sugar
- 2 teaspoons pure vanilla extract
- ½ cup sour cream
- 2 large eggs (at room temp)
- 1 ½ teaspoon baking soda
- ½ teaspoon cornstarch
- ¼ teaspoon salt
- 3 ¼ cups all-purpose flour
- Gel food coloring (purple, orange, and green)
- 2 cups sprinkles
- 1 cup white chocolate chips
Instructions
- Cream the softened butter and granulated sugar in a mixing bowl until fluffy.
- Add vanilla extract and sour cream and mix until combined; add eggs and mix just until incorporated.
- Mix in baking soda, cornstarch, salt, and flour one cup at a time until no flour streaks remain.
- Divide the dough into three bowls and add gel food coloring, mixing to desired color; chill for at least 30 minutes.
- Preheat oven to 375°F (190°C) and line baking sheets with parchment paper.
- Scoop dough into balls and mash together by combining one ball of each color.
- Arrange on baking sheets, flattening each ball slightly.
- Decorate with white chocolate chips and sprinkles.
- Bake for 8-10 minutes; cool on the baking sheet for 10 minutes before transferring to a plate.
Notes
Serve on a festive platter; pairs well with milk or hot chocolate.
- Prep Time: 30 minutes
- Cook Time: 10 minutes
- Category: Dessert
- Method: Baking
- Cuisine: American
- Diet: Vegetarian
Nutrition
- Serving Size: 1 cookie
- Calories: 150
- Sugar: 10g
- Sodium: 100mg
- Fat: 7g
- Saturated Fat: 4g
- Unsaturated Fat: 2g
- Trans Fat: 0g
- Carbohydrates: 16g
- Fiber: 0g
- Protein: 2g
- Cholesterol: 30mg
Keywords: cookies, dessert, Halloween, baking, colorful treats, festive snacks