Salt dough Christmas ornaments are a fun and easy craft project that brings joy to families during the festive season. Making these ornaments is a delightful activity for adults and children alike. You only need a few simple ingredients to create decorative pieces that can be hung on your Christmas tree or given as gifts. Making salt dough ornaments allows you to express creativity while making lasting memories with loved ones.
These ornaments are inexpensive and can be customized in many ways. Besides, they are a great way to start a tradition during the holidays. Gather around the table, roll some dough, and let the kids shape their favorite designs. These ornaments can be painted, glittered, or left plain for a rustic charm.
WHY YOU WILL LOVE THIS RECIPE
You will love making salt dough Christmas ornaments for several reasons. First, they are easy to make with simple ingredients that you likely already have at home. The process does not require any special tools, making it accessible for everyone.
Second, these ornaments are a fun activity for all ages. Children can get creative with shapes and designs, while adults can enjoy the process of kneading dough and making memories.
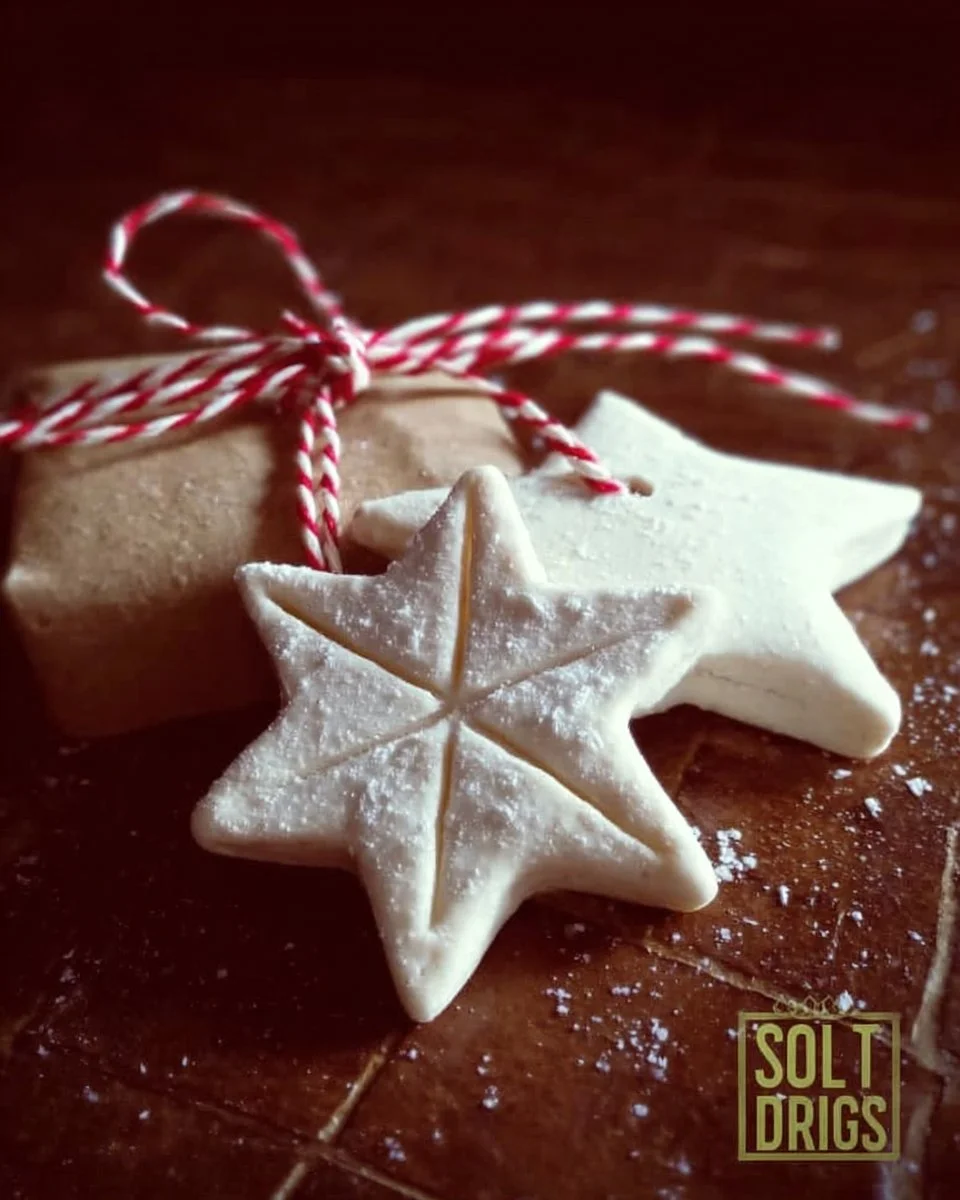
Third, these ornaments are versatile and customizable. You can paint them in vibrant colors or decorate them with glitter and even personal messages. They can be made into different shapes, such as stars, hearts, or even your child’s handprint.
Finally, you can use these ornaments for many years. They are durable, and if stored properly, they can become cherished keepsakes for your family.
HOW TO MAKE Salt Dough Christmas Ornaments
Making salt dough Christmas ornaments is simple and straightforward. It involves mixing the ingredients, shaping the dough, and baking. Follow the steps below to create your own ornaments.
EQUIPMENT NEEDED
To make salt dough Christmas ornaments, you will need the following equipment:
- A large mixing bowl for combining ingredients
- A rolling pin for flattening the dough
- Cookie cutters in the shapes you desire
- A skewer or a straw to make holes for hanging
- Baking trays lined with baking paper
- A wire rack for cooling the ornaments
Ingredients You’ll Need
- 3 cups plain flour
- 1 cup cooking salt
- 2 tablespoons vegetable oil
- 320ml cold water
STEP-BY-STEP INSTRUCTIONS
- Mix Ingredients: In a large mixing bowl, combine the flour and salt. Mix them well to ensure they are fully combined.
- Make a Well: Create a well in the center of the dry mixture. Pour the vegetable oil into this well.
- Add Water: Gradually add the cold water to the mixture. Stir it well using a spoon or your hands until it comes together.
- Knead the Dough: Turn the dough out onto a lightly floured surface. Knead it for a few minutes until it forms a smooth ball.
- Roll Out the Dough: Roll out the dough to about 5mm thick. Make sure it is even so that the ornaments bake evenly.
- Cut Out Shapes: Use cookie cutters to cut out your desired shapes for the ornaments.
- Make Holes: Use a skewer or straw to poke a hole at the top of each decoration. This hole will be used for hanging the finished ornaments.
- Prepare for Baking: Place the cut-out decorations on trays lined with baking paper.
- Roll Remaining Dough: Gather the leftover dough, roll it back together, and repeat the process if needed.
- Bake: Preheat the oven to 120°C (250°F). Bake the decorations for about 2 ½ hours or until they are hard and dry.
- Cool Completely: After baking, transfer the ornaments to a wire rack to cool completely.

HOW TO SERVE Salt Dough Christmas Ornaments
Salt dough Christmas ornaments are not served like food but can be hung on Christmas trees, used as home decor, or given as gifts. Once decorated, they can brighten up your holiday decorations. You can also use them as gift tags, enhancing gifts with a personal touch.
STORAGE & FREEZING : Salt Dough Christmas Ornaments
Salt dough Christmas ornaments can be stored in a cool, dry place. Keep them in an airtight container to prevent moisture. If properly stored, they can last for years. If you want to freeze them, ensure they are completely cooled and wrapped tightly, but freezing is generally unnecessary since they are not perishable.
SERVING SUGGESTIONS
These ornaments can be served in various ways to enhance your holiday celebrations. Here are some suggestions:
- Hang them on your Christmas tree for a festive touch.
- Use them as part of gift wrapping.
- Display them on a mantle or shelf.
- Create a festive centerpiece using a bowl full of these ornaments.
VARIATIONS
There are many creative variations for salt dough Christmas ornaments:
- Painted Ornaments: After baking, you can paint the ornaments with acrylic paint to give them a colorful finish.
- Glitter Ornaments: Add glitter to the dough before rolling it out for some sparkle, or sprinkle glitter on the painted surface afterward.
- Nature-Inspired Ornaments: Press leaves, flowers, or herbs into the dough before baking for a natural look.
- Personalized Messages: Use a toothpick to write names or holiday messages on the ornaments before baking.
FAQs
1. How long do salt dough ornaments last?
Salt dough ornaments can last for several years if stored properly in a dry and cool place.
2. Can I use food coloring in the dough?
Yes, you can add food coloring to the dough before mixing. This will give your ornaments a beautiful color.
3. What can I use instead of cookie cutters?
If you do not have cookie cutters, you can use any object with a sharp edge, like a glass or a knife, to create different shapes.
4. Can I decorate the ornaments after baking?
Yes, you can paint or decorate the ornaments after they have cooled down from baking. This is a fun way to personalize each piece.
MAKE-AHEAD TIPS FOR Salt Dough Christmas Ornaments
To save time during the holiday rush, you can prepare the salt dough in advance. Here are some make-ahead tips:
- Prepare the Dough: You can mix and prepare the dough a day or two before you plan to make ornaments. Just store it in an airtight container to prevent it from drying out.
- Roll and Cut Shapes: If you’re short on time, you can roll and cut the shapes in advance and freeze them. You can bake them when ready.
- Batch Bake: Make multiple batches of the dough and bake them together. This can make it quicker to create a lot of ornaments at once.
Making salt dough Christmas ornaments is a fantastic way for families to bond over a creative project. With easy steps and basic ingredients, this holiday craft is sure to be a hit with everyone. Whether you hang them on your tree or give them as gifts, these ornaments will surely add joy and charm to the season.
Print
Salt Dough Christmas Ornaments
Create delightful and customizable salt dough Christmas ornaments that bring festive cheer to your home.
- Total Time: 165 minutes
- Yield: Varies based on size and shapes
Ingredients
- 3 cups plain flour
- 1 cup cooking salt
- 2 tablespoons vegetable oil
- 320ml cold water
Instructions
- In a large mixing bowl, combine the flour and salt. Mix them well.
- Create a well in the center and pour the vegetable oil into this well.
- Gradually add the cold water and stir until it comes together.
- Knead the dough on a lightly floured surface for a few minutes until smooth.
- Roll out the dough to about 5mm thick.
- Use cookie cutters to cut out shapes.
- Poke a hole at the top of each decoration with a skewer or straw for hanging.
- Place the decorations on trays lined with baking paper.
- Gather leftover dough and repeat the process if needed.
- Preheat the oven to 120°C (250°F) and bake for about 2 ½ hours until hard and dry.
- Allow to cool completely on a wire rack.
Notes
Store ornaments in an airtight container to prevent moisture and prolong their lifespan. They can also be painted or glittered for extra decoration.
- Prep Time: 15 minutes
- Cook Time: 150 minutes
- Category: Craft
- Method: Baking
- Cuisine: N/A
- Diet: N/A
Nutrition
- Serving Size: N/A
- Calories: Estimated 50 calories per ornament
- Sugar: 0g
- Sodium: 250mg
- Fat: 2g
- Saturated Fat: 0g
- Unsaturated Fat: 2g
- Trans Fat: 0g
- Carbohydrates: 10g
- Fiber: 0g
- Protein: 2g
- Cholesterol: 0mg
Keywords: Christmas, ornaments, craft, DIY, holiday decor, kids activity