

How to Make Chocolate Covered Honeycomb
Quick step by step overview
Honeycomb is basically a caramel mixture that gets suddenly puffed up with baking soda. That puffing creates all those cool air pockets inside. You cook sugar, syrup, and water until it’s bubbling and amber, whisk in baking soda, then pour the foam into a lined pan. After it sets, break it into shards and dip in chocolate. That’s the gist. It’s surprisingly simple once you know what to watch for.
Start by lining a square baking pan with parchment and have your baking soda measured and ready. You’ll want zero delays later. In a heavy pot, combine granulated sugar, light corn syrup or golden syrup, and a splash of water. Stir just to moisten the sugar. Then cook over medium heat without stirring. As it boils, the mixture will go from clear to pale, then to a light amber. That’s your window. If you have a thermometer, aim for about the hard crack stage, but you can do this by color too. Light amber equals go time.
Cooling and coating the candy
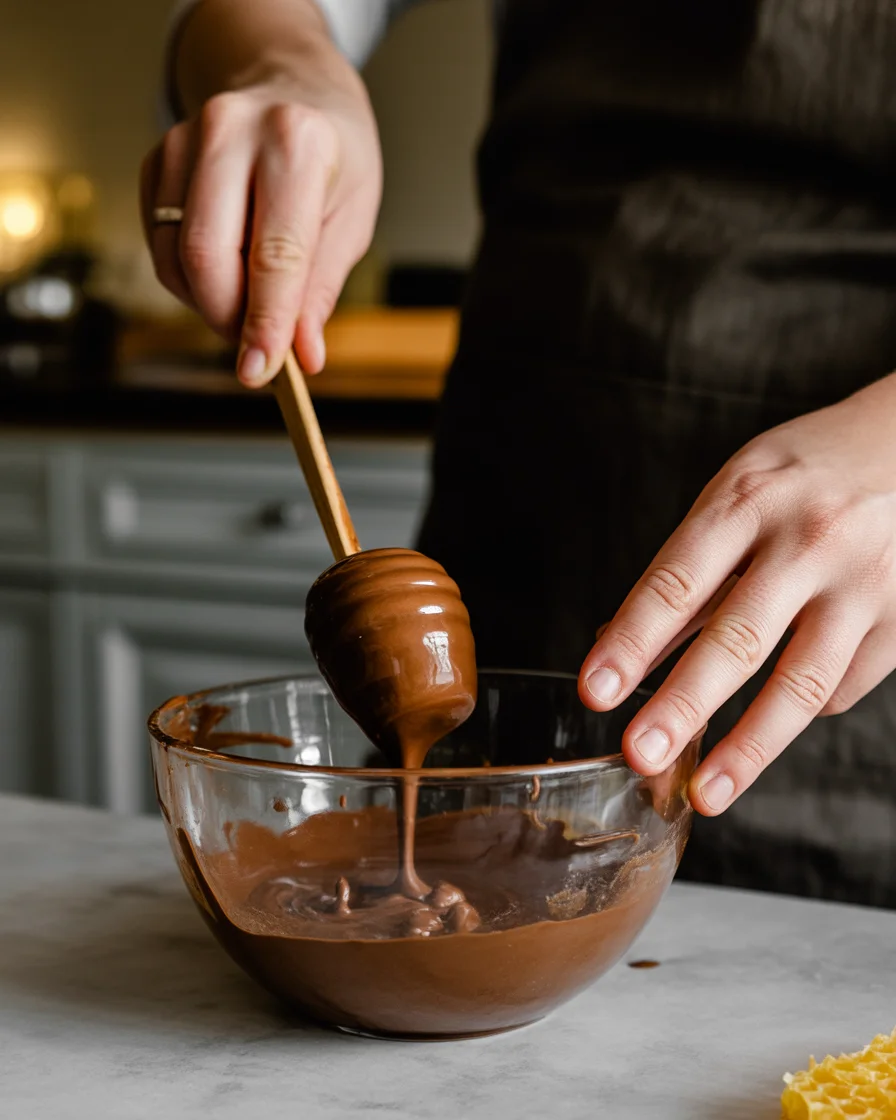
Kill the heat and quickly whisk in baking soda. The mixture will foam up fast, which is exactly what you want. Pour it immediately into your prepared pan and do not spread it around. Spreading knocks out the bubbles. Let it cool completely until firm. Once set, lift it out and gently break it into pieces. Go for a mix of small bites and a couple of dramatic large shards. Melt chocolate in short bursts in the microwave or using a double boiler. Dip each piece halfway or fully, and place on parchment to set.
Want a little dessert variety for your next party tray? I love adding a plate of these alongside a batch of double chocolate cookies so there’s a chewy option next to the crunchy candy. It’s a crowd pleaser every time.
If you’re hunting a reliable home method, this Chocolate Covered Honeycomb Recipe is the one I reach for when I need a quick win. Short ingredients list, clear steps, big payoff.
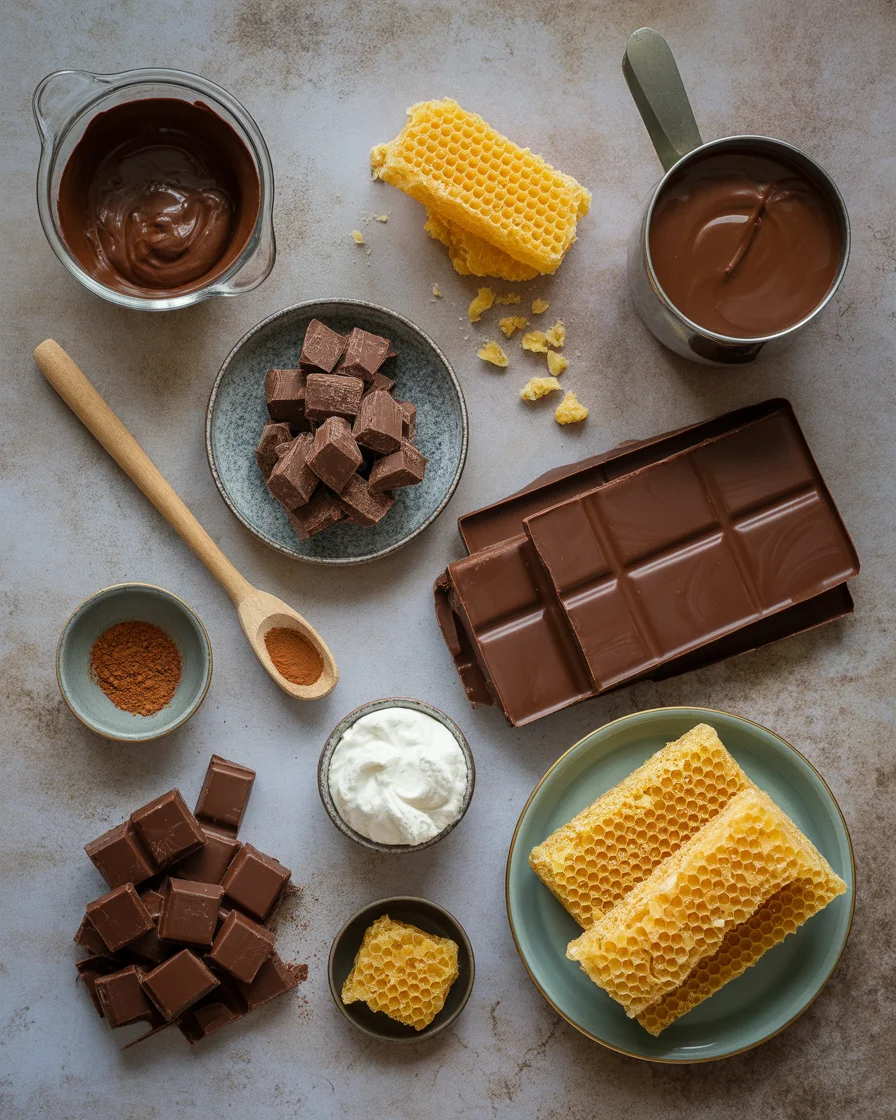
Ingredients
Here’s everything you’ll need to pull off a glossy, crisp batch. Keep it simple and trust the process.
- Granulated sugar: The base that caramelizes into that golden color.
- Light corn syrup or golden syrup: Helps prevent crystallization and keeps the texture crisp.
- Water: Just enough to dissolve and start things off evenly.
- Baking soda: The magic that creates the airy honeycomb structure.
- Chocolate: Dark, milk, or white. Use a bar you like eating. Chips work, but bars melt smoother.
- Neutral oil or a little coconut oil: Optional, just a tiny dab to thin chocolate for dipping if needed.
- Pinch of fine salt: Optional, but it makes the flavors pop.
For dairy free chocolate coating, choose a chocolate labeled dairy free. If you want more dairy free dessert ideas, you might love these chewy dairy free chocolate chip cookies. They pair insanely well with honeycomb shards on an after dinner plate.
Note for texture lovers: if you prefer a slightly softer chew, you can pull the caramel just before it turns deep amber. For a more shattery bite, let it go a shade darker. Either way, be careful. Hot sugar is no joke.
Using good chocolate really matters here. This is candy with just a few ingredients. I try to choose something with a clean ingredient list and a flavor I already love. When I want a lighter taste, I often go with milk chocolate. For the bold, bittersweet crunch lovers, dark chocolate is amazing.
This is also a great spot to sprinkle flaky salt on a few pieces right after dipping. The sweet and salty combo might convert you forever.
Equipment You’ll Need
- Heavy bottomed saucepan: Helps cook evenly and prevents scorching.
- Heatproof spatula or wooden spoon: For stirring at the start.
- Whisk: To quickly incorporate the baking soda.
- Parchment paper and a square pan: Prevents sticking and makes cooling easy.
- Measuring cups and spoons: Accuracy helps, especially with baking soda.
- Thermometer: Optional, but helpful for stress free cooking.
- Microwave safe bowl or double boiler: To melt the chocolate smoothly.
- Baking sheet: For setting the chocolate dipped pieces.
You do not need fancy candy making gear to make this. That’s the best part. The one thing I care about most is the heavy pan. It gives you a more even color and reduces the risk of a bitter patch at the bottom.
If you plan to make candy more than once or twice, a basic thermometer is a nice buy. It cuts out guesswork until you get comfortable judging color on sight.
Honeycomb Recipe Tips and Tricks
Common pitfalls and easy fixes
Pre measure your baking soda. The mixture goes from perfect to overcooked fast. When the caramel hits that light amber, you need to whisk and pour quickly. Don’t hunt for your spoon at that moment. Having everything lined up is the difference between wow and meh.
Don’t stir while it boils. Early stirring can encourage crystals and lead to a gritty texture. I know it’s tempting. Hands off once everything is moistened. Let the bubbles do their thing.
Use fresh baking soda. It’s the engine of the whole puffing action. Old soda equals a flatter, denser candy. Replace it if you’re not sure. I do a quick test by splashing a little vinegar on a pinch. It should fizz right away.
Resist spreading the foamy mix in the pan. It looks messy, but that uneven top is part of the rustic charm. Spreading pops bubbles and gives you a tough slab instead of that light, airy snap we want. A tall pour into the center is best.
Chocolate too thick for dipping? Stir in a tiny bit of neutral oil to loosen it. Just a half teaspoon at a time. You want a glossy flow that coats without clumping.
“I tried this on a whim for a movie night and ended up making three batches. The texture was spot on and the chocolate coating set beautifully. My friends asked for the recipe before the credits rolled.”
For holidays or themed parties, I love pairing this with fun seasonal sweets. If you need ideas, check out these spooktacular Halloween desserts for a dessert board that looks like you spent all day on it. And if you want a treat that’s cute and kid approved, these playful bat cupcakes are a hit beside shiny honeycomb shards.
One more reminder: hot sugar burns are awful. Keep kids and pets out of the kitchen during the boiling step, and avoid distractions. Once the honeycomb is cooling, the hard part is over. Then it’s just melt, dip, and nibble. These small precautions make every Chocolate Covered Honeycomb Recipe experience a happy one.
Additions and Variations
Flavor ideas
Make it your own. Stir a teaspoon of vanilla into the caramel right before the baking soda for a mellow sweetness. If you love a citrus spark, finely grate orange zest over the chocolate while it’s still tacky. Sea salt flakes on top are pure bliss. Toasted sesame seeds look elegant and add a nutty crunch. For a coffee lover twist, dust a whisper of espresso powder on the chocolate.
You can also swap dark chocolate for white and stripe the pieces with a contrasting drizzle for a shop worthy look. Want some fruit sparkle? Press a few crushed freeze dried raspberries into the wet chocolate. The tart pop cuts through the sweetness and looks beautiful.
How to store and gift
Keep honeycomb in an airtight container at room temperature. If it’s humid, it can get sticky, so tuck in a piece of parchment to separate layers. It lasts a few days in top form, though it’s usually gone before then. Dipped in chocolate, it keeps a bit longer since the coating protects the candy. For gifting, bag a few pieces in a clear treat bag and tie with ribbon. Add a label so folks know to store it cool and dry.
If you want another easy bake to round out a gift box, try these apple pie cookies. The cozy spice vibes go so well with the caramel notes of honeycomb. It’s a simple pairing that feels thoughtful and homemade.
Whether you’re making it for a party or a quiet night in, this Chocolate Covered Honeycomb Recipe is flexible. Dress it up with fancy toppings or keep it classic with a clean chocolate coat. Both versions are addictive.
Common Questions
Can I skip the thermometer? Yes. Watch for a light amber color and steady, lively bubbles. If you have a thermometer, great. If not, color is your guide.
Why did my honeycomb turn sticky? Humidity is the usual culprit. Store in an airtight container and avoid the fridge. The chocolate coating helps slow moisture, so dip as soon as it’s fully cool.
Can I use honey instead of syrup? A bit of honey is fine, but too much can lead to scorching and a bitter flavor. I prefer light corn syrup or golden syrup for consistency and color.
How thin should I make the chocolate? It should flow off a spoon in a smooth ribbon. If it’s thick, stir in a small drizzle of neutral oil until it loosens. Go slow so it doesn’t get oily.
What else can I serve with honeycomb? I love it next to a creamy dessert or a cozy drink. If you want a fun sipper to match the sweet vibe, this fluffy cloud coffee is a playful pick for movie night.
A sweet little wrap up for candy lovers
We covered everything you need for a crisp, bubbly center and a shiny coat of chocolate. From the sugar stage to the final dip, you’ve got the steps, the safety tips, and the flavor ideas to make it yours. Keep it classic or try a twist, either way this Chocolate Covered Honeycomb Recipe is a guaranteed crowd pleaser. If you want to explore more spins, this guide to Homemade Dark Chocolate Honeycomb has great inspiration for darker, richer notes. Now grab that saucepan and treat yourself to a crackly, chocolate dipped bite.
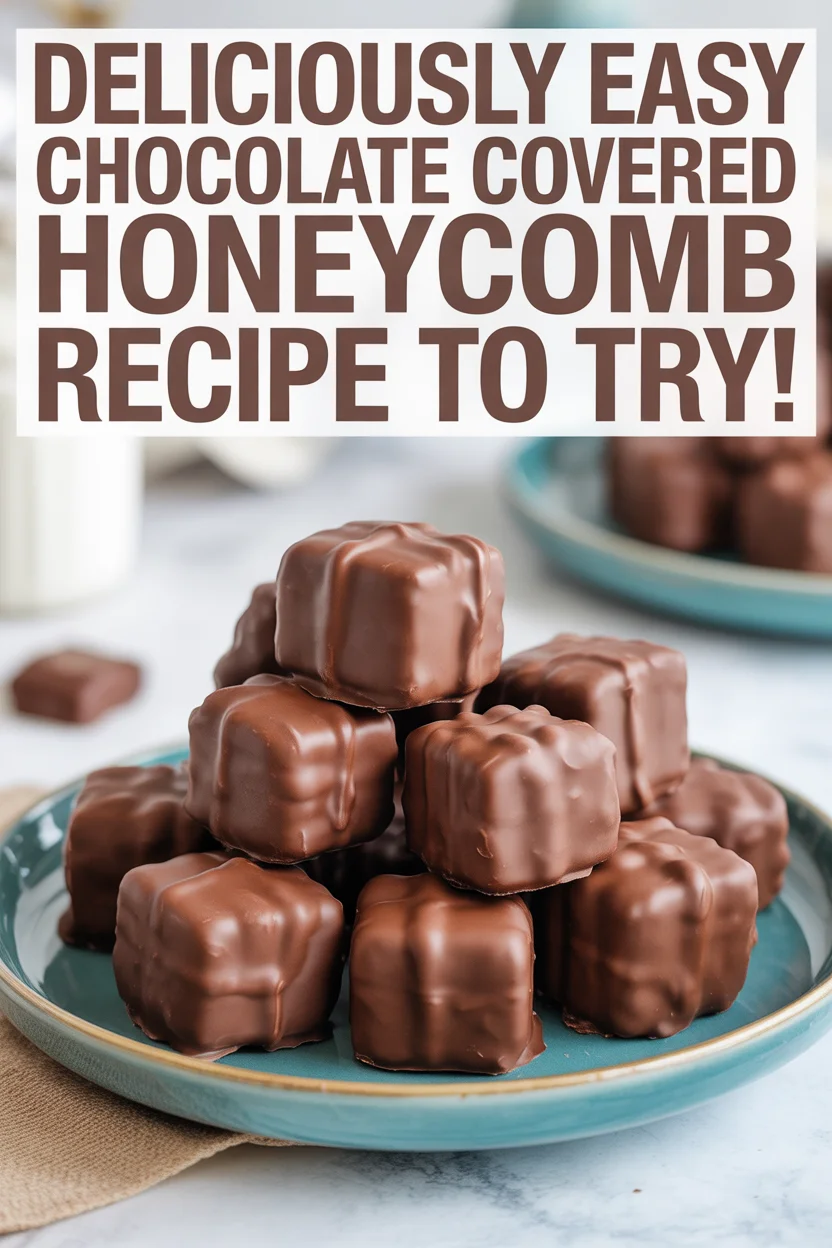
Chocolate Covered Honeycomb
A delightful blend of crunchy, airy honeycomb coated in silky chocolate, perfect for satisfying sweet cravings.
- Total Time: 25 minutes
- Yield: 4 servings 1x
Ingredients
- 1 cup granulated sugar
- 1/3 cup light corn syrup or golden syrup
- 1/4 cup water
- 1 tsp baking soda
- 8 oz chocolate (dark, milk, or white)
- 1/2 tsp neutral oil or coconut oil (optional)
- Pinch of fine salt (optional)
Instructions
- Prepare a square baking pan by lining it with parchment paper.
- In a heavy pot, combine sugar, syrup, and water. Stir to moisten the sugar.
- Cook over medium heat without stirring until bubbling and light amber in color.
- Quickly whisk in baking soda; the mixture will foam up.
- Pour the mixture into the prepared pan and do not spread it around.
- Allow honeycomb to cool completely and firm up before breaking into pieces.
- Melt chocolate in a microwave or double boiler.
- Dip each honeycomb piece halfway or fully in chocolate and set on parchment to cool.
Notes
For floral or citrus hints, you can add vanilla or orange zest to the caramel before whisking in the baking soda. Store in an airtight container at room temperature.
- Prep Time: 15 minutes
- Cook Time: 10 minutes
- Category: Dessert
- Method: Candy Making
- Cuisine: American
- Diet: Vegetarian
Nutrition
- Serving Size: 2 pieces
- Calories: 200
- Sugar: 30g
- Sodium: 50mg
- Fat: 8g
- Saturated Fat: 5g
- Unsaturated Fat: 3g
- Trans Fat: 0g
- Carbohydrates: 28g
- Fiber: 1g
- Protein: 2g
- Cholesterol: 5mg
Keywords: candy, chocolate, honeycomb, dessert, homemade