
Gingerbread Cookies with Royal Icing Recipe is the cure for those holiday afternoons when you want something festive, fast, and fun. If your cookies usually spread or your icing dries dull, I’ve been there and I’ve got you. This is my go-to method for crisp edges, snappy spice, and shiny decor that actually sets hard. The dough whips up easily, the icing is simple, and the decorating part turns into a cozy, creative activity. If you want extra quick decorating inspo, check out these adorable 5-minute Christmas bauble cookies for simple designs that still look fancy.

Meringue Powder in Royal Icing
Let’s talk about the workhorse of this icing. Meringue powder replaces raw egg whites and gives the icing that smooth shine and sturdy finish we all want. It’s reliable, safe, and easy to store. I prefer it because I can quickly adjust thickness without worrying about food safety or whipping egg whites just right.
What is meringue powder
It’s basically dried egg whites with a bit of stabilizer. When you mix it with powdered sugar and a little water, you get a glossy icing that dries firm. That means your lines stay crisp, and your sprinkles stick. I love it for holiday cookie decorating parties because it keeps things simple and consistent. If you’re baking for friends who avoid gluten, you can pair this icing with my favorite gluten-free gingerbread cookies and enjoy the same great decorating experience.
Why I prefer it for holiday baking
When you’re trying to decorate a dozen cookies fast, there’s no time to fuss. Meringue powder delivers a stable base that won’t separate or collapse while you work. You’ll get a reliable finish every time, which is why my Gingerbread Cookies with Royal Icing Recipe always includes it. The result is icing that’s firm enough for stacking and gifting, but still pleasant to bite into.
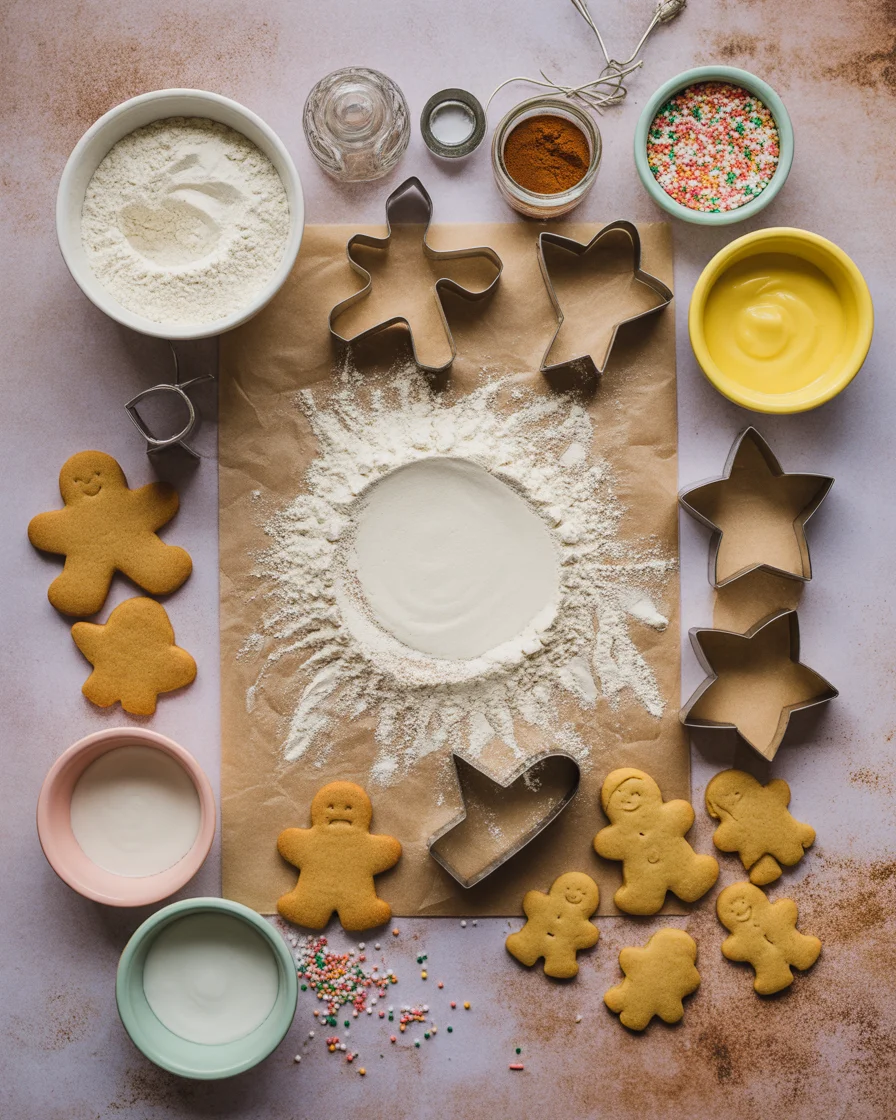
Here’s my simple icing base that never fails me:
- 4 cups powdered sugar, sifted
- 3 tablespoons meringue powder
- 6 to 8 tablespoons water, added gradually
- 1 teaspoon vanilla or almond extract, optional
- Pinch of salt to balance the sweetness
Whisk the dry ingredients, add water slowly, then beat on low until glossy. Adjust water a teaspoon at a time until you hit the consistency you need for piping or flooding.

Use This Royal Icing for Flooding and Piping
I keep one batch of icing and split it into two bowls. One stays thicker for outlines and details. The other gets thinned with a little water for flooding. This keeps edges neat and fills smooth without craters or dents. It’s a simple system that turns out professional-looking cookies without special training. I use it for stars, trees, and little gingerbread people with scarf details that make everyone smile.
Here are the basic steps I follow for every cookie decorating session:
- Outline with thicker icing to create a border.
- Flood with thinner icing inside the border.
- Gently nudge icing into corners with a toothpick or scribe tool.
- Pop air bubbles by lightly tapping the cookie or pricking bubbles with the tool.
- Let it set before adding details like dots, lines, or buttons.
If you want a sweet break from spice while you decorate, bake a batch of apple pie cookies too. The combo of spiced gingerbread and cozy apple flavor is my favorite snack plate for December afternoons.
“I used this method for our cookie exchange and the icing dried so shiny and smooth. I finally got clean lines on my snowflakes. It felt like a win.”
With this approach, my Gingerbread Cookies with Royal Icing Recipe stays stress-free, and I get consistent results even when I’m decorating in a hurry.
Royal Icing Consistency
Consistency can feel confusing at first, but once you learn a few simple cues, it clicks. Think of it like this. Thicker icing is for borders and details. Slightly thinner icing is for filling large areas so it’s smooth and level. If your borders collapse, the icing is too thin. If flooding looks lumpy, it’s too thick. A bit of water or a bit of powdered sugar fixes almost anything.
The 10-second test
Here’s the quick test that never fails me. Drag a spoon through your icing and count how long the line takes to disappear. If it disappears in about 10 seconds, you’re in the sweet spot for flooding. For piping borders, aim for around 15 to 20 seconds so it holds shape. For tiny details like eyes, buttons, or swirl patterns, go even thicker for strong definition.
Want another fun project to practice lines and dots before jumping back to gingerbread? Try these festive candy cane cookies. They’re playful, easy to customize, and teach you a lot about control. And if you love decorating for fall too, save this roundup of Halloween dessert recipes for next season. It’s packed with ideas you can decorate using the same icing techniques.
Dialing in your icing can be the difference between cookies that look homemade and cookies that look bakery-level. When I keep testing the icing until it behaves the way I want, my Gingerbread Cookies with Royal Icing Recipe always looks polished and festive.
Can I Freeze Royal Icing?
Yes, you can freeze royal icing, and it’s a lifesaver during the holidays. Portion icing by color into airtight bags, press out the air, twist, and freeze flat. Label with the date and consistency so you know what you’re grabbing later. When you’re ready to use it, thaw in the fridge, then bring it to room temp. Knead the bag to re-emulsify, or give it a gentle stir to smooth it out. If it seems a touch too thin after thawing, sift in a little powdered sugar.
Piped decorations freeze well too. Pipe small shapes like snowflakes, buttons, or stars onto parchment. Once they’re dry, freeze them in a container with parchment between layers. Later you can pop them onto freshly iced cookies for a quick, cute finish.
Freezing gives you flexibility. You can decorate in stages, or prep a rainbow of colors without staying up late the night before your party.
How Can I Make Royal Icing Ahead of Time
Royal icing keeps well for up to a week in the fridge when stored airtight. Press a piece of plastic wrap directly on the surface to prevent crusting. Before using, let it come to room temp and stir well. Add a few drops of water if it’s thicker than you remember. If it’s too thin, whisk in a spoonful of sifted powdered sugar until it tightens up again.
When I’m planning a cookie day, I make the icing the night before and portion it into squeeze bottles or piping bags. I set aside a little extra uncolored icing too, which is handy for softening shades that got too bold or for last-minute touchups. This way I can focus on rolling, baking, and the fun part, decorating. It keeps my Gingerbread Cookies with Royal Icing Recipe flowing without stress.
Common Questions
How long should I let the icing dry?
For a smooth surface, give flooded cookies at least 6 to 8 hours at room temperature. Overnight is ideal if you plan to add details or pack them up.
Can I color royal icing with gel food coloring?
Yes. Gel is best because it keeps the icing from getting too watery. Add a little at a time until you hit the shade you want.
Why does my icing have bubbles?
Extra air from mixing and thin consistency can cause bubbles. Tap the cookie gently, use a toothpick to pop them, and mix icing on low speed to reduce trapped air.
How do I avoid icing craters?
Keep your flooding icing slightly thicker and avoid piping big hollow areas over very thin lines. Let outlines set a few minutes before flooding.
What if my cookies spread while baking?
Chill the cut shapes on the baking sheet for 10 minutes before baking. Use fresh baking powder and avoid overworking the dough.
A Sweet, Simple Finish
There you have it. With a trusty icing base and a few small tricks, your cookies will look bright, neat, and ready for gifting. My Gingerbread Cookies with Royal Icing Recipe relies on meringue powder for dependable shine and structure, and it never lets me down. If you want another reference, this classic Gingerbread Cookies with Royal Icing Recipe | Sandra Lee | Food Network is a great benchmark for flavor and technique. Now grab some sprinkles, turn on a cozy playlist, and bake a batch that will make your kitchen smell like pure holiday cheer.
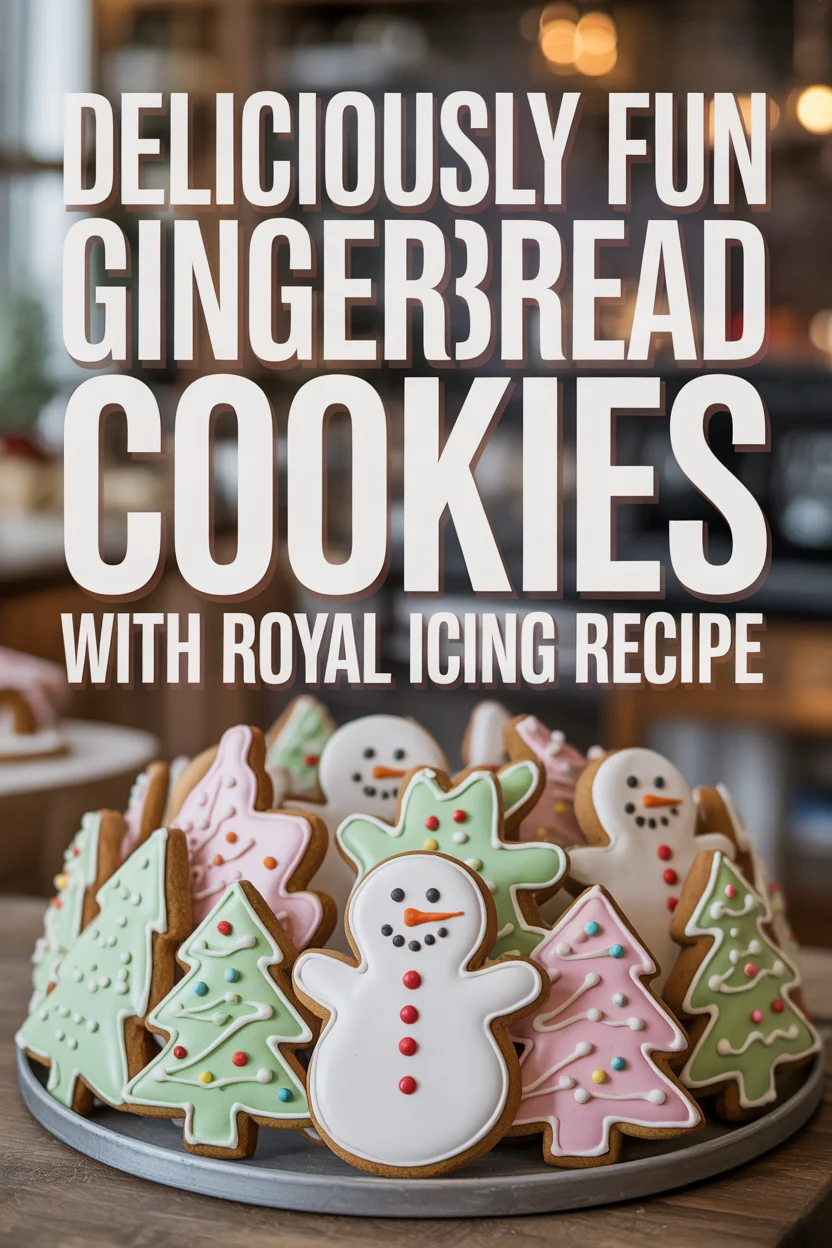

Gingerbread Cookies with Royal Icing
A festive recipe for gingerbread cookies decorated with royal icing, perfect for holiday baking and gifting.
- Total Time: 40 minutes
- Yield: 24 cookies 1x
Ingredients
- 4 cups powdered sugar, sifted
- 3 tablespoons meringue powder
- 6 to 8 tablespoons water, added gradually
- 1 teaspoon vanilla or almond extract (optional)
- Pinch of salt
Instructions
- Whisk the dry ingredients together.
- Add water slowly while mixing until you achieve the desired consistency.
- For flooding, split the icing into two bowls, keeping one thicker for outlines and thinning the other for flooding.
- Outline cookies with thicker icing to create a border.
- Flood with thinner icing inside the borders.
- Gently nudge icing into corners with a toothpick or scribe tool.
- Tap cookies lightly to pop air bubbles.
- Let the icing set before adding details.
Notes
The icing can be frozen and kept up to a week in the fridge. Use gel food coloring for coloring. Allow cookies to dry for at least 6 to 8 hours.
- Prep Time: 30 minutes
- Cook Time: 10 minutes
- Category: Dessert
- Method: Baking
- Cuisine: American
- Diet: Vegetarian
Nutrition
- Serving Size: 1 cookie
- Calories: 150
- Sugar: 25g
- Sodium: 50mg
- Fat: 0g
- Saturated Fat: 0g
- Unsaturated Fat: 0g
- Trans Fat: 0g
- Carbohydrates: 36g
- Fiber: 0g
- Protein: 0g
- Cholesterol: 0mg
Keywords: gingerbread, royal icing, holiday cookies, festive baking, cookie decorating