
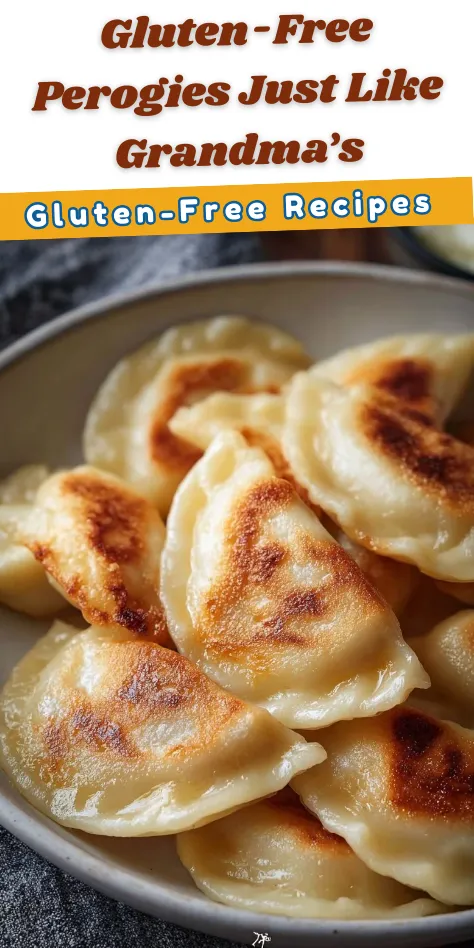
Perogies are a beloved dish in many cultures. These little dumplings can be filled with almost anything. The soft, chewy dough combined with a tasty filling brings comfort. Making them gluten-free allows everyone to enjoy this classic meal. Gluten-free perogies are just like Grandma used to make, but with ingredients that are friendly for those who cannot eat gluten. It is time to roll up your sleeves and create a batch of these delicious treats that your family will love.
WHY YOU WILL LOVE THIS RECIPE
This gluten-free perogies recipe is not just for those avoiding gluten. It is for everyone who enjoys good food! The ingredients are simple and can be found in most stores. The taste is reminiscent of childhood memories spent in the kitchen. Each bite is tender and flavorful. Plus, this recipe is versatile. You can use whatever filling you prefer, whether it is classic mashed potatoes or something more unique. Sharing these perogies with family and friends will definitely bring smiles to faces!
HOW TO MAKE Gluten Free Perogies
Ingredients
- 1/2 cup cream-style cottage cheese (or sour cream, start with 1/3 cup)
- 1/4 cup milk
- 1 large egg
- 1 tablespoon oil
- 1/2 cup brown rice flour
- 1/4 cup cornstarch
- 1/4 cup tapioca starch
- 2 tablespoons potato starch
- 2 tablespoons sweet rice flour
- 1 teaspoon xanthan gum
- 1/2 teaspoon salt
- Filling of your choice (e.g., mashed potatoes, cheese, onions)
- A little brown rice flour for sprinkling
STEP-BY-STEP INSTRUCTIONS
Prepare the dough
Start by blending the cottage cheese, egg, milk, and oil together. Use a blender or a food processor. Blend until the mixture is smooth. This will be your wet mixture.
Mix dry ingredients
In a stand mixer, combine all your dry ingredients. Add the brown rice flour, cornstarch, tapioca starch, potato starch, sweet rice flour, xanthan gum, and salt. Mix them well.
Combine wet and dry ingredients
Slowly pour the wet mixture into the dry mixture. Mix until the dough forms. Make sure the dough is soft. It should not be too sticky. If it is, you can add a little more brown rice flour.
Roll the dough
Take a portion of the dough and roll it into a ball. Make it about the size of a golf ball. Place it on a sheet of plastic wrap. Fold the plastic wrap over the dough and roll it out thin. Aim for about 1/16 inch thick.
Fill the perogies
Spoon your chosen filling onto one half of the rolled dough oval. Be generous but careful not to overfill!
Seal the perogies
Wet the edges of the dough with a bit of water. This helps to seal them well. Fold the dough over the filling and press firmly to seal. You can use a round cutter for a clean edge if desired.
Refrigerate
Place the filled perogies on a baking pan that is lined with a cloth. Cover them and refrigerate for at least 30 minutes. This will help them hold their shape while cooking.
Cook the perogies
Bring a pot of water to a boil. Don’t forget to add salt to the water! Drop a few perogies at a time into the boiling water. Stir gently so they don’t stick to the bottom. Once they float to the top, they are done. This usually takes about 3 to 5 minutes.
Serve
Use a slotted spoon to remove the perogies from the water. They can be served with a drizzle of melted butter or your favorite sauce. Enjoy immediately!
HOW TO SERVE Gluten Free Perogies
Gluten-free perogies are best enjoyed warm. They can be served with melted butter or served with sour cream for dipping. You might also like to add sautéed onions or crispy bacon bits on top for extra flavor. Fresh herbs like chives or parsley can also brighten the dish! Feel free to get creative with your presentation!
STORAGE & FREEZING: Gluten Free Perogies
If you have leftovers, you can store them in the refrigerator for a few days. Place them in an airtight container. Just reheat them in a pot of boiling water for about one minute when you are ready to eat again.
If you want to freeze them, place the filled and sealed perogies on a baking tray in a single layer. Freeze until solid, then transfer them to a freezer bag or container. They can be kept in the freezer for several months. When you want to cook them from frozen, just boil them straight from the freezer—there is no need to thaw!

SERVING SUGGESTIONS
Gluten-free perogies are quite versatile! Besides the classic fillings, you can try mixing cheeses, or even sautéed vegetables for a tasty vegetarian option. For dessert, sweet fillings like fruits or sweetened cheese can be used to create a delightful sweet treat. Pair your perogies with a fresh salad or a bowl of soup for a complete meal.
VARIATIONS
There are endless ways to vary gluten-free perogies. You can:
- Change the filling: Try different flavors like sautéed cabbage, mushrooms, or spinach.
- Add spices: Garlic powder, herbs, or spices can be added to the dough for added flavor.
- Use different flours: If you want to experiment, you can try other gluten-free flours, but be sure to maintain the same proportions.
- Sweet options: Fill with sweetened fruit, whipped cream cheese, or chocolate for a dessert version.
FAQs
Can I make these perogies in advance?
Yes! You can prepare the dough and filling ahead of time. Refrigerate the dough until you are ready to roll it out.
Can I freeze the perogies?
Absolutely! Just freeze them on a flat baking sheet and then transfer them to a freezer bag once frozen.
How do I know when the perogies are cooked?
When they float in the boiling water, they are done. This usually takes 3 to 5 minutes.
What can I use for the filling?
You can use almost anything! Mashed potatoes, cheese, cooked meat, sautéed vegetables, or even fruits for dessert perogies.
MAKE-AHEAD TIPS FOR Gluten Free Perogies
Planning to make perogies ahead of time? Here are some tips:
- Prepare the filling a day in advance and store it in the fridge.
- Make the dough ahead of time and wrap it tightly to keep it fresh.
- Assemble the perogies in the morning if you plan to serve them in the evening.
- Store them in the fridge if you do not plan to cook them right away. They keep well for a day.
Now you are ready to make delicious gluten-free perogies! Enjoy preparing and sharing these comforting treats with your loved ones.
Comfort Food That Brings Back Memories!
These homemade gluten-free perogies bring comfort food to a whole new level while maintaining that nostalgic taste! For more hearty, satisfying meals, try our gluten-free taco casserole or our comforting gluten-free lasagna soup for cozy dinner options. Round out your meal with our no-knead gluten-free bread for the ultimate comfort food experience. Follow us on Pinterest for more traditional recipes made gluten-free, because everyone deserves to enjoy the foods they love!

Gluten Free Perogies
Delicious gluten-free perogies that can be filled with your favorite ingredients, bringing comfort and joy to every meal.
- Total Time: 40 minutes
- Yield: 4 servings 1x
Ingredients
- 1/2 cup cream-style cottage cheese (or sour cream)
- 1/4 cup milk
- 1 large egg
- 1 tablespoon oil
- 1/2 cup brown rice flour
- 1/4 cup cornstarch
- 1/4 cup tapioca starch
- 2 tablespoons potato starch
- 2 tablespoons sweet rice flour
- 1 teaspoon xanthan gum
- 1/2 teaspoon salt
- Filling of your choice (e.g., mashed potatoes, cheese, onions)
- A little brown rice flour for sprinkling
Instructions
- Blend the cottage cheese, egg, milk, and oil together until smooth to create the wet mixture.
- In a stand mixer, combine all dry ingredients: brown rice flour, cornstarch, tapioca starch, potato starch, sweet rice flour, xanthan gum, and salt, mixing well.
- Slowly pour the wet mixture into the dry mixture and mix until a soft, non-sticky dough forms.
- Roll the dough into a ball the size of a golf ball, then roll it out thin (about 1/16 inch thick) between two sheets of plastic wrap.
- Spoon your chosen filling onto one half of the rolled dough oval, being careful not to overfill.
- Wet the edges of the dough with a bit of water, fold over the filling, and press firmly to seal the perogies.
- Refrigerate the filled perogies on a baking pan lined with a cloth for at least 30 minutes.
- Bring a pot of salted water to a boil and drop a few perogies at a time into the boiling water, stirring gently until they float (about 3 to 5 minutes).
- Use a slotted spoon to remove the cooked perogies and serve warm with melted butter or your favorite sauce.
Notes
Store leftovers in an airtight container in the refrigerator, or freeze assembled perogies for later use. Reheat by boiling for about one minute.
- Prep Time: 30 minutes
- Cook Time: 10 minutes
- Category: Side Dish
- Method: Boiling
- Cuisine: Eastern European
- Diet: Gluten Free
Nutrition
- Serving Size: 1 serving
- Calories: 300
- Sugar: 3g
- Sodium: 350mg
- Fat: 9g
- Saturated Fat: 3g
- Unsaturated Fat: 6g
- Trans Fat: 0g
- Carbohydrates: 45g
- Fiber: 4g
- Protein: 10g
- Cholesterol: 40mg
Keywords: gluten-free, perogies, dumplings, comfort food, easy recipe