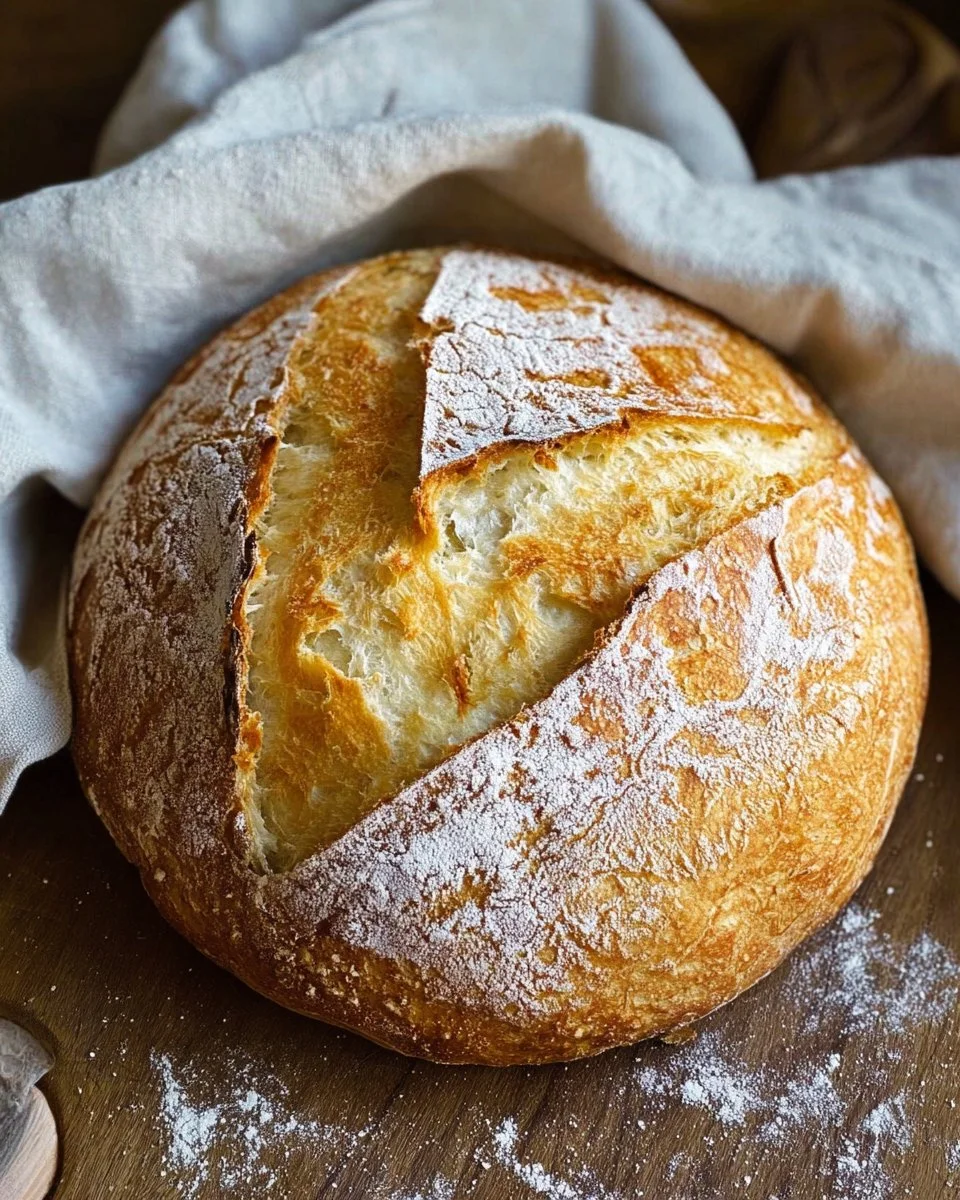
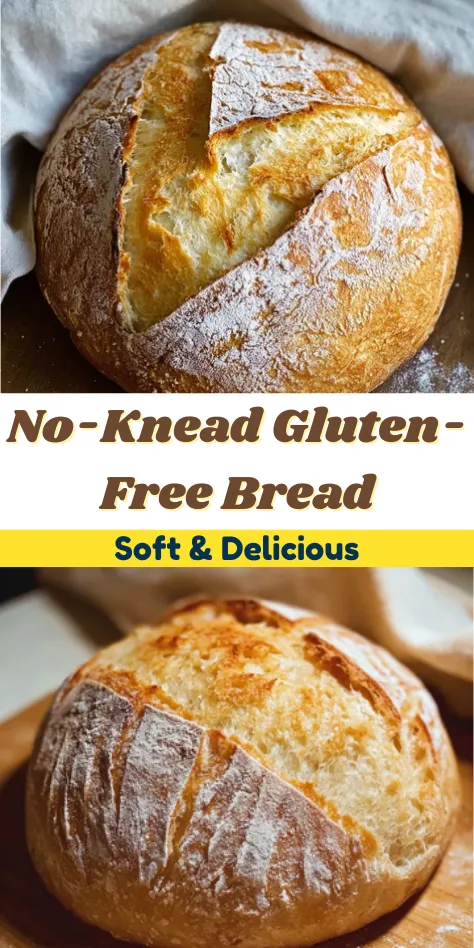
No Knead Gluten Free Bread is a wonderful recipe for anyone looking to make a simple and delicious loaf of bread without gluten. Many people enjoy bread but find it hard to find gluten-free options that taste good and have the right texture. This recipe is perfect because it does not require any kneading, making it easy and quick to prepare. With just a few simple ingredients and minimal effort, you can enjoy warm, fresh bread right from your own oven.
WHY YOU WILL LOVE THIS RECIPE
There are many reasons why this No Knead Gluten Free Bread is a great choice. First, it is incredibly easy to make. You do not need special skills or tools, and there is no fuss or mess involved. Just mix the ingredients, let the dough rise, and bake it!
Second, the bread comes out with a beautiful, crusty exterior and a soft, chewy inside. The texture is similar to traditional bread, so everyone can enjoy it, whether or not they eat gluten.
Third, you can customize the taste by adding different herbs or spices, making this recipe versatile. It is not just plain bread; you can make it your own!
Finally, it’s perfect for those who follow a gluten-free diet. This bread uses gluten-free all-purpose flour, giving you a safe and tasty option for sandwiches, toast, or just enjoying with some butter.
HOW TO MAKE No Knead Gluten Free Bread
Ingredients:
- 3 cups gluten-free all-purpose flour
- 1 ½ teaspoons salt
- 1 teaspoon instant yeast
- 1 ½ cups warm water
- 2 tablespoons olive oil (optional)
- 1 teaspoon apple cider vinegar (optional)
STEP-BY-STEP INSTRUCTIONS:
Follow these steps to create your No Knead Gluten Free Bread:
- Mix Dry Ingredients: In a large mixing bowl, whisk together gluten-free flour, salt, and instant yeast until well combined.
- Add Wet Ingredients: Slowly stir in the warm water, olive oil, and apple cider vinegar to the dry ingredients. Mix until fully incorporated; the dough will be sticky and loose.
- First Rise: Cover the bowl with plastic wrap or a clean kitchen towel. Let the dough rise at room temperature for 8-12 hours, preferably overnight.
- Prepare for Baking: After rising, preheat your oven to 450°F (232°C). Place a Dutch oven or heavy pot with a lid inside the oven to heat.
- Shape the Dough: Flour your work surface lightly. Use a spatula to remove the dough from the bowl and fold it onto itself a couple of times. Form it into a rough ball without overworking it.
- Final Rise: Transfer the dough onto a piece of parchment paper. Cover lightly with a kitchen towel and let it rest for 30 minutes while the oven heats.
- Bake Bread: Carefully remove the hot Dutch oven from the oven. Using the parchment paper, lift the bread and place it into the pot. Cover with the lid and bake for 30 minutes.
- Remove Lid and Brown: After 30 minutes, remove the lid and bake for an additional 15 minutes to achieve a golden crust.
- Cool the Bread: Carefully remove the bread from the pot and allow it to cool on a wire rack for at least 30 minutes before slicing.
Following these steps will help you create a wonderfully delicious loaf that is sure to impress!

HOW TO SERVE No Knead Gluten Free Bread
No Knead Gluten Free Bread can be served in many ways. You can slice it and serve it with butter or jam for breakfast. It can also be used to make sandwiches for lunch or snacks. You can toast it lightly and have it with soup or stews for dinner. The possibilities are endless!
If you want a fancy touch, add some herbs or spices to the dough before baking. You can also enjoy this bread with your favorite dips or spreads.
STORAGE & FREEZING: No Knead Gluten Free Bread
To store your bread, keep it in an airtight container or zip-lock bag at room temperature. This will keep it fresh for about 2 days. If you want to keep it longer, you can freeze it.
To freeze, wrap the bread tightly in plastic wrap, then place it in a freezer bag. It can last for up to 3 months in the freezer. To enjoy, simply take the bread out and let it thaw at room temperature. You can also toast it straight from the freezer if you want it warm right away.
SERVING SUGGESTIONS
Here are some great suggestions for serving your No Knead Gluten Free Bread:
- With Breakfast: Serve slices with butter, honey, or jam.
- As a Sandwich: Use it for your favorite sandwich fillings like turkey, cheese, or veggies.
- With Soup: Enjoy it alongside a warm bowl of soup, such as tomato or chicken noodle.
- For Dips: Cut it into cubes and serve with hummus or any dips.
- As a Snack: Top with avocado and season with salt and pepper for a healthy treat.
VARIATIONS
You can try different variations of this No Knead Gluten Free Bread. Here are some ideas:
- Herb Bread: Add dried herbs like rosemary or thyme to the dry ingredients for a flavorful twist.
- Seed Bread: Mix in seeds like sunflower seeds, chia seeds, or poppy seeds for added texture.
- Cheesy Bread: Incorporate shredded cheese into the dough for a cheesy flavor.
- Sweet Bread: Add honey or sugar for a sweeter version, perfect for breakfast.
Be creative! Feel free to mix and match these ideas to make your bread special.
FAQs
1. Can I use regular flour instead of gluten-free flour?
No, this recipe is specifically designed for gluten-free flour. If you use regular flour, it will not work the same way.
2. How do I know if my dough has risen enough?
The dough should double in size. It will feel lighter and puffed after the first rise.
3. What if I don’t have a Dutch oven?
If you do not have a Dutch oven, any heavy pot with a lid will work. You can also use a baking stone or a baking sheet with a cover (like another pan) for baking.
4. Can I make this bread without the apple cider vinegar?
Yes, the vinegar helps with flavor and texture, but it is optional. You can leave it out if you do not have it.
MAKE-AHEAD TIPS FOR No Knead Gluten Free Bread
Making this bread can be even easier with some make-ahead tips:
- Prepare the Dry Ingredients: You can mix the dry ingredients in advance and store them in a sealed container. When you’re ready to make the bread, just add the wet ingredients.
- Overnight Rise: This recipe is great for an overnight rise. If you start in the evening, you can bake fresh bread for breakfast.
- Freeze Ready Dough: After the first rise, you can freeze the dough. Just let it thaw in the fridge overnight before baking.
- Batch Cooking: Make multiple loaves and freeze them to have bread ready whenever you want. This will save you time later.
Using these tips can help you enjoy fresh baked bread with less effort, allowing you to savor every bite of your No Knead Gluten Free Bread anytime you like. Enjoy!
Your Gateway to Amazing Gluten-Free Meals!
This incredible no-knead gluten-free bread will revolutionize your gluten-free baking experience! Use it as the perfect foundation for meals featuring our gluten-free perogies or alongside our hearty gluten-free lasagna soup. Transform it into garlic bread to accompany our gluten-free taco casserole for a complete dinner experience. For more bread recipes and gluten-free baking tips that will fill your home with wonderful aromas, follow us on Pinterest!
No Knead Gluten Free Bread
A simple and delicious gluten-free bread recipe that requires no kneading and can be customized with different herbs and spices.
- Total Time: 720 minutes
- Yield: 1 loaf 1x
Ingredients
- 3 cups gluten-free all-purpose flour
- 1 ½ teaspoons salt
- 1 teaspoon instant yeast
- 1 ½ cups warm water
- 2 tablespoons olive oil (optional)
- 1 teaspoon apple cider vinegar (optional)
Instructions
- In a large mixing bowl, whisk together gluten-free flour, salt, and instant yeast until well combined.
- Slowly stir in the warm water, olive oil, and apple cider vinegar to the dry ingredients. Mix until fully incorporated; the dough will be sticky and loose.
- Cover the bowl with plastic wrap or a clean kitchen towel. Let the dough rise at room temperature for 8-12 hours, preferably overnight.
- After rising, preheat your oven to 450°F (232°C). Place a Dutch oven or heavy pot with a lid inside the oven to heat.
- Flour your work surface lightly. Use a spatula to remove the dough from the bowl and fold it onto itself a couple of times. Form it into a rough ball without overworking it.
- Transfer the dough onto a piece of parchment paper. Cover lightly with a kitchen towel and let it rest for 30 minutes while the oven heats.
- Carefully remove the hot Dutch oven from the oven. Using the parchment paper, lift the bread and place it into the pot. Cover with the lid and bake for 30 minutes.
- After 30 minutes, remove the lid and bake for an additional 15 minutes to achieve a golden crust.
- Carefully remove the bread from the pot and allow it to cool on a wire rack for at least 30 minutes before slicing.
Notes
For additional flavor, consider adding herbs or spices to the dough before baking.
- Prep Time: 10 minutes
- Cook Time: 45 minutes
- Category: Bread
- Method: Baking
- Cuisine: Gluten-Free
- Diet: Gluten-Free
Nutrition
- Serving Size: 1 slice
- Calories: 180
- Sugar: 1g
- Sodium: 300mg
- Fat: 7g
- Saturated Fat: 1g
- Unsaturated Fat: 5g
- Trans Fat: 0g
- Carbohydrates: 30g
- Fiber: 3g
- Protein: 5g
- Cholesterol: 0mg
Keywords: gluten-free, bread, no knead, easy bread, baking